
No More Off-Season: Building a Garage Golf Simulator - Part 1: Introduction
It’s a dream many golfers share: the ability to play a round at Pebble Beach or St Andrews at a moment’s notice, rain or shine, day or night. No tee times, no weather delays, just pure golf. For a while now, I’ve dreamed of having my own golf simulator. This year, I’m finally turning that dream into a reality, and I’m taking you along for my entire journey. Welcome to the first post in my multi-part series on building a DIY golf simulator from scratch.
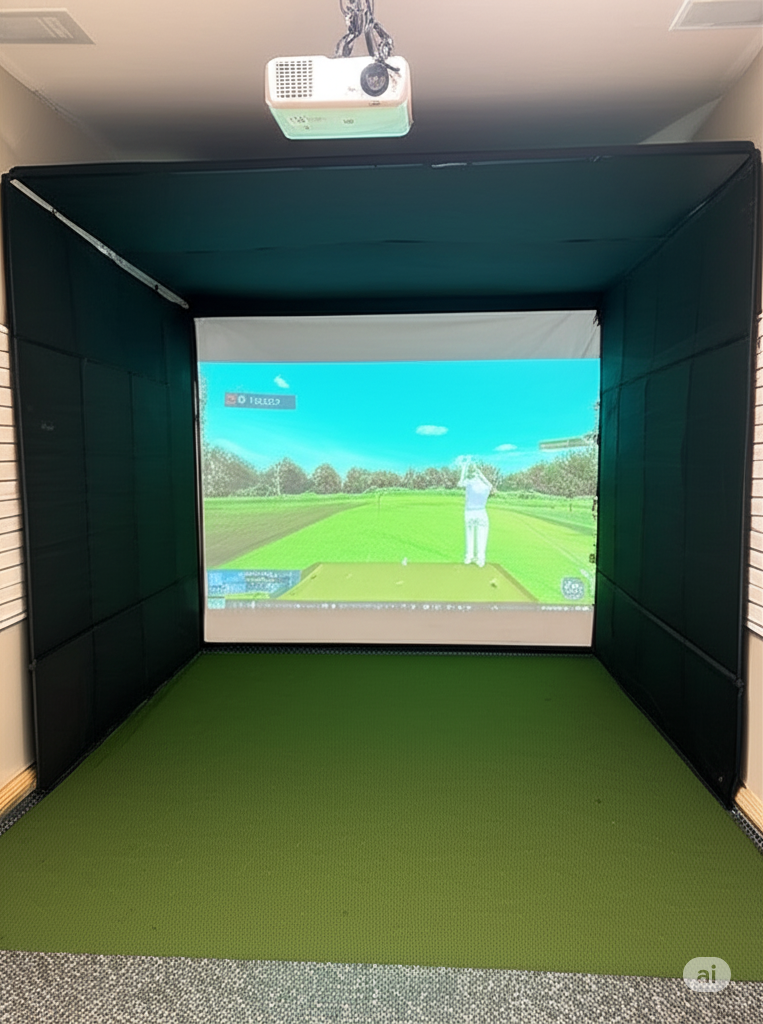
This isn’t just about buying a kit and plugging it in. This is about my research, my planning, the inevitable challenges, and the satisfaction of hitting that first perfect shot in a space I built myself. In this series, I’ll cover everything from choosing the right launch monitor to building the enclosure and dialing in the software.
But before I buy a single piece of equipment, it all starts with a plan.
Building a golf simulator is a project of passion, but a successful one is built on a foundation of careful planning. Rushing into purchases without a clear design is the fastest way to blow a budget and still end up with a setup that doesn’t work. So, in this first post, I’m focusing on the blueprint and the absolute non-negotiables. These are the fundamentals I have to address for myself before I even think about adding a single item to my shopping cart.
How much room do I really have?
This is the number one, non-negotiable starting point. My project will be built in a standard single-car garage stall. I’m lucky to have a spare bay in my tandem garage, but it comes with its own set of very specific dimensions.
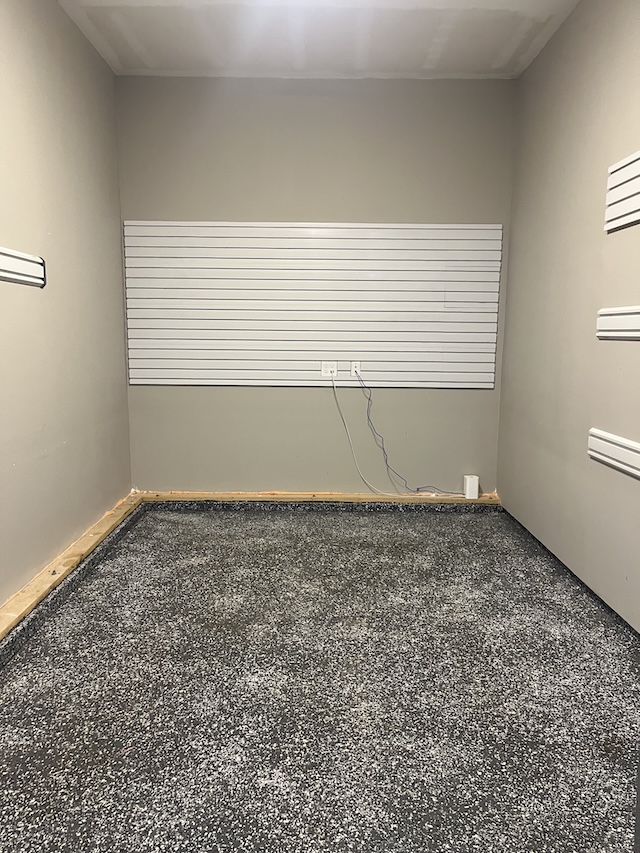
After breaking out the tape measure, here’s what I’m working with and what it means for my build.
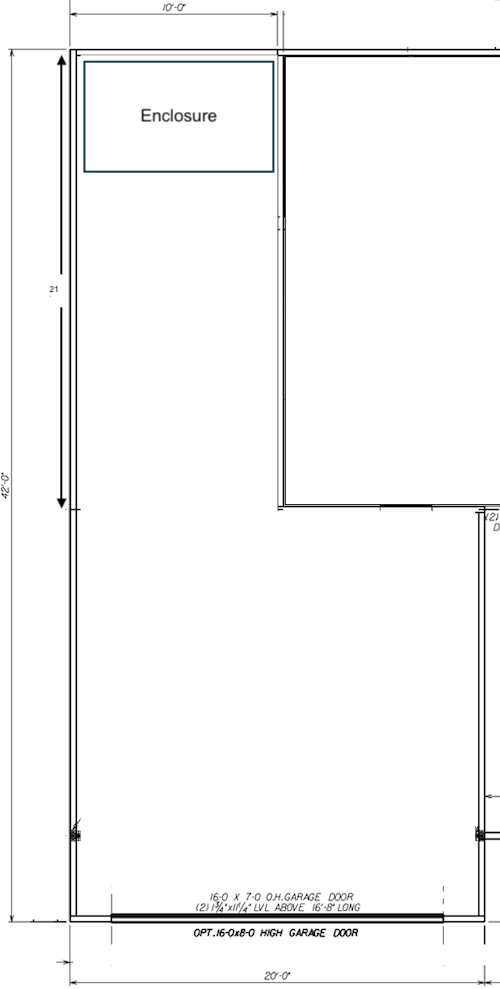
My dimensions are: 10' width × 12′ height × 21` depth.
Let’s break down what each of these means:
-
Height (12′): This is a huge win. My ceiling height is a fantastic 12′. In the world of DIY golf simulators, this is a major luxury. It means I have zero concerns about even my tallest friends swinging a driver and hitting the ceiling. This height also gives me a ton of flexibility for mounting my projector high up and out of the way.
-
Depth (20′): This is another strong point for my space. With 20′ of depth, I have plenty of room to create a safe and functional layout. I can have a 1’ behind the impact screen for damage control and pretty much any distance I need for the tee spot or the launch monitor.
-
Width (10′): Now for my biggest constraint. The width of the garage stall is exactly 10′. This is widely considered the minimum viable width for a simulator, and it forces some very important decisions right from the start. With only 10′ from wall to wall, I can’t realistically center the hitting area. There simply wouldn’t be enough room for a full, confident swing on both sides of the ball without fear of hitting the side walls. This immediately confirmed that I must build an “offset” simulator. I’ll have to push the hitting area to one side of the garage stall to maximize the swing space for a single player orientation. This realization leads directly to the next big question…
Righty, lefty, or both?
This might seem like a small detail, but it has a huge impact on the project since I am a lefty and almost all of my friends are righties. Based on the width constraint above, I have to offset the tee. However, if I want to have friends and family over - I’ll likely have both right- and left-handed players. This means I must actually have dual offset and a tee spot on each side. It also means I will need a launch monitor that can accomdate the dual offset.
Let’s talk budget
A golf simulator can cost anywhere from a few thousand dollars to the price of a luxury car. It was crucial for me to set a realistic budget from the start.
I’ve broken my budget into the following core components:
- Launch monitor & software: The brains of the operation.
- Enclosure & screen: The physical structure.
- Projector & PC: The visuals.
- Mat & flooring: The foundation.
- Climate, lighting and seating: Creature comfort.
- Final touches
My budget for this is extremely low so I’m hoping to allocate it carefully across these categories and to provide a detailed breakdown at the end. I know that the dual offset requirement will affect the cost so if it becomes too much - it might be time for early eject.
What’s next?
Now that I have a blueprint, the real fun begins. In the next post, I’ll dive deep into Part 2: Launch Monitor & Software. I decided to focus on this first because given the non-negotiables above, there is a high probability that I either price myself out or even worse - not be able to find one at all.
This is going to be an incredible project. I hope you’ll join me on this journey, and feel free to drop your own questions and plans in the comments below!